
Easy At Home Gel Manicure With DIY Decals
I’ve been doing my own nails at home for the past three years. I’ve tried out everything organic polishes to gels to dips to extensions and I’d like to think that I’ve found a routine that that I love. I am by no means claiming that I’m a nail expert nor am I a nail technician, this is just what works for me after lots of trial and error.
As much as I love the look of gorgeous, long nails, I just cannot function with them on, without being afraid of breaking them 24/7. I also usually go for a more tapered square (not quite coffin) shape but all of this can be tailored to your personal preference.

Nail Prep
Nail prep is one of the most important parts of you manicure. It can determine how long your mani lasts and how healthy your nails will be during and after the application/removal processes.
I start off by trimming my nails with clippers if I want to take down a lot of length, but I usually just go right in with my nail file to shape and even out the free edge of the nail. I like to use glass nail files, which you can get pretty cheap on Amazon. They’re quicker and gentler on the nail than tradition nail files, plus they come in cuter colors.
Next I’ll push back the cuticle with a wooden stick, since it’s softer than most metal cuticle pushers and, you guessed it, better for the natural nail. There’s some debate on whether or not trimming the cuticles helps or harms nail health, but I find that pushing them back is what’s best for me.
I use a 180 grit file or buffing block to gently smooth the surface of the nail and create a surface that the gel can grip to. It’s important to note that the higher the number the finer the grit when it comes to files. If I’m removing an old manicure I start by filing as much off as I can with a 100 grit file or electric file before soaking in acetone to make removal easier.

The Base
I naturally have pretty thin nails that break SO easily. I use a builder gel, which is thicker and stronger than your normal gel polishes, under my manicure to add some extra strength and structure to my nails and to protect the from breaking.
There’s lots of different brands out there but I like the one made by Orly because you can get it without a professional license. I’ve also heard great things about the Gel Bottle and Gelish builder gels. You definitely want to be cautious of buying anything like this on Amazon because there’s lots of fake replicas that could have harmful ingredients.
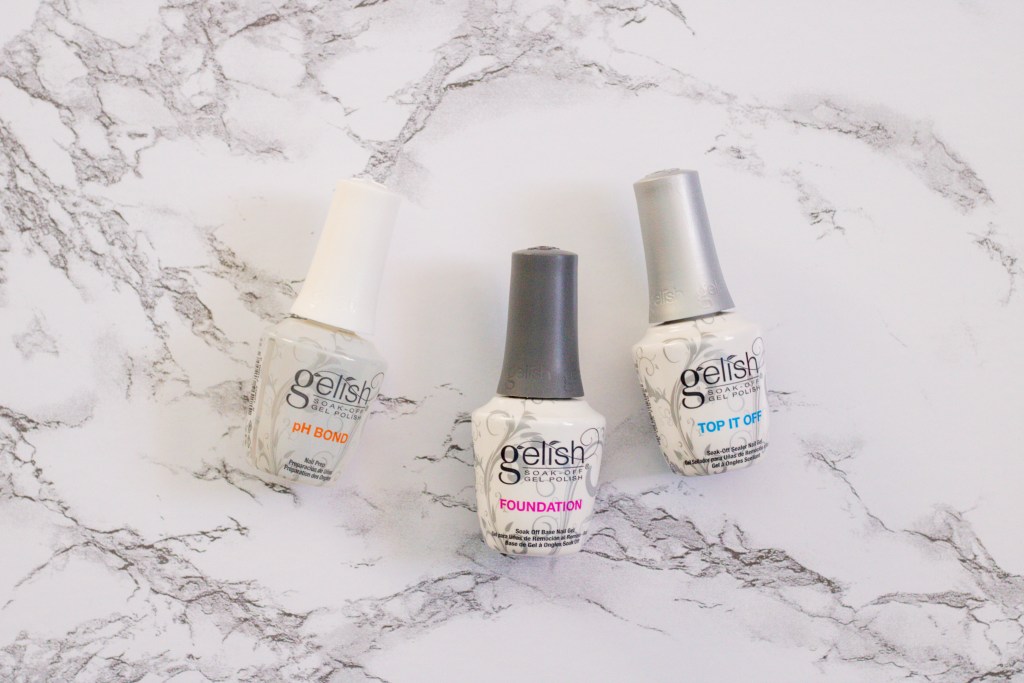
After curing, cleaning and buffing the builder gel I go in with a pH bond that will further prep the nail and help everything stick and bind together better. I follow that up with the Gelish Foundation base coat and cure it on the longest setting of my lamp. I opted for LED because it’s cheaper and quicker.

Color
This is where you can easily switch it up depending on your mood, the season and your style. I usually go for neutral colors. Baby pink is my go to and I love the Gelish gel polish in Primrose because it has a light shimmer to it. Since this mani is Valentine’s Day themed, I stuck with the baby pink.
Some other really good gel polish brands you can easily get are CND and ASP. Ulta and Sally Beauty are two great, reliable sources that carry tons of options.

Top it Off
I love cute nail art designs but I’m definitely not great at them, but I do love my Cricut machine. I saw a couple Instagram posts and pins of girls making nail stickers on their Cricut machines to make nail art. For this mani I added some cute heart decals that I made with red vinyl. Each heart it 1/4″ wide, but if I had to do it again I think I’d make them a little smaller.
After the two coats of colored gel polish I used a pair of tweezers to lay hearts on my middle and ring fingers along with my thumbs. I layered on a thick coat of the Gelish Top it Off topcoat and cured it in my lamp. Because of the curve of my ring fingers, I used a cuticle pushed to hold down the sides of the hearts while the polish cured.
The end product is a super cute, festival, long lasting gel manicure, all without leaving your bedroom! If you want more nail inspo make sure you go check out my Pinterest board.
What’s your go to nail color? Are you an at-home mani gal or a die hard salon go-er?


